The first WordPress site I built had “Just another WordPress site” as its tagline for three months
after launch. When I finally noticed, checking Google revealed it had indexed dozens of pages all
displaying that unprofessional default text. That embarrassing oversight taught me to treat
WordPress settings seriously from day one.
A fresh WordPress installation comes with defaults designed for broad compatibility, not optimal
performance or SEO. Many settings are fine as-is, but certain critical configurations can cause
lasting problems if left unchanged—broken URLs, search engine visibility issues, spam floods, and
more.
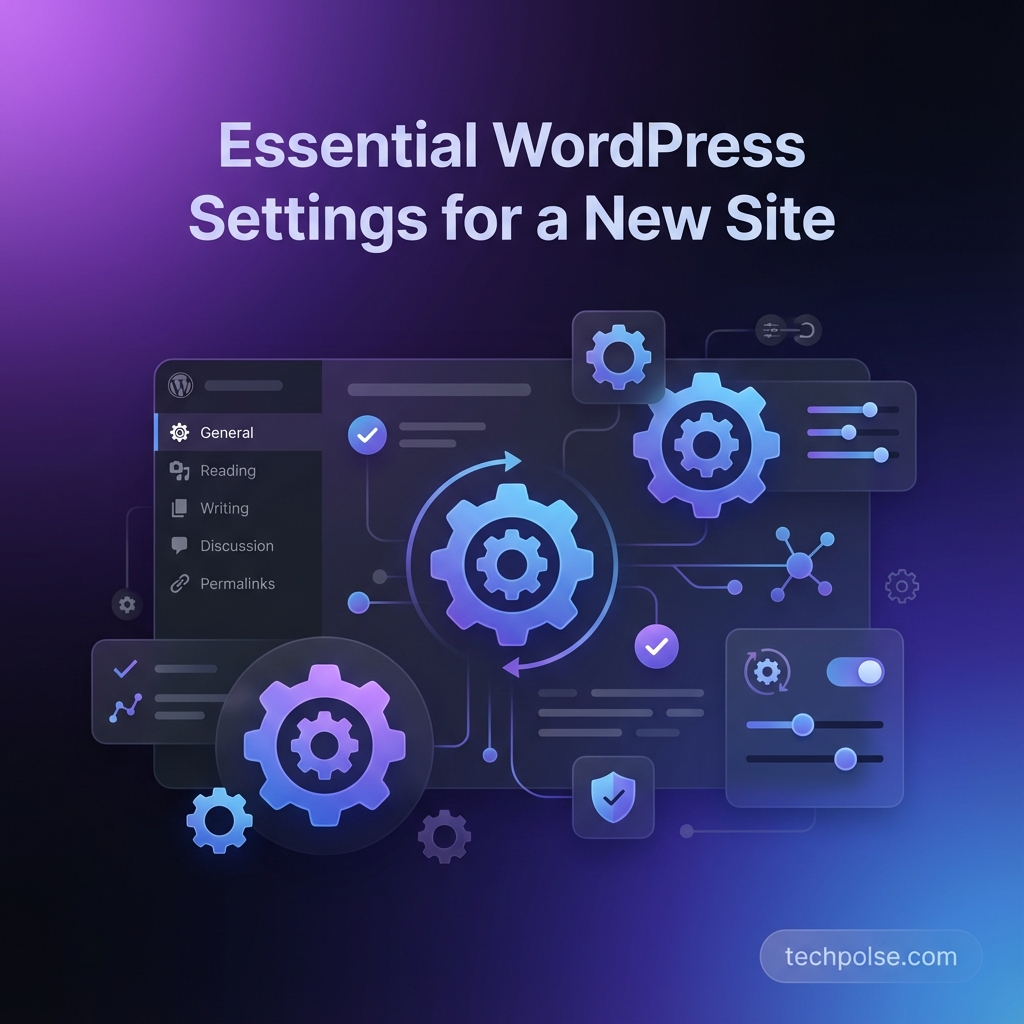
This guide walks through every WordPress settings panel, explaining which options to change, which to
leave alone, and why each decision matters. You’ll come away with a properly configured foundation
that prevents common problems and supports future growth.
General Settings: Your Site’s Identity
General Settings establish fundamental properties that affect how your site identifies itself to
users and search engines.
Site Title and Tagline
Your site title appears in browser tabs, search results, and typically in your site header. It’s how
users and search engines identify you. Enter your brand name exactly as you want it known—consistent
capitalization, any special characters included correctly.
Keep the title under 60 characters. Search engines truncate longer titles in results, cutting off
your brand name awkwardly. If your brand name is long, consider whether you need all of it in the
title or can shorten it.
The tagline describes what your site offers. Many themes display it below your title; many SEO
plugins use it as a default meta description until you configure something better. Write a clear,
compelling description under 160 characters that tells visitors what value you provide.
Most importantly, delete “Just another WordPress site” immediately. That default tagline signals an
incomplete, careless site. Even a placeholder you write yourself is better than the WordPress
default appearing in search results.
WordPress Address and Site Address
These two URL fields are easy to confuse and dangerous to misconfigure. Getting them wrong can lock
you out of your site entirely.
WordPress Address (URL) is where WordPress core files are installed. For most sites, this matches
your domain: https://yourdomain.com. If you installed WordPress in a subdirectory like /blog/, it
would be https://yourdomain.com/blog/.
Site Address (URL) is your public-facing URL—what visitors type to access your site. Usually this
matches WordPress Address. The difference matters if you want WordPress in a subdirectory but your
homepage at the root domain.
Critical rule: both URLs should use https:// if you have an SSL certificate. Mixing http and https
between these fields causes redirect loops, mixed content warnings, and login failures. Match
protocols exactly.
Never change these fields casually. Incorrect values can make your site inaccessible. If you must
change them, have FTP access ready—you may need to edit wp-config.php to recover from mistakes.
Administration Email
This email receives password reset links, security notices, plugin notifications, and WordPress
update alerts. It’s your administrative lifeline.
Use a real, monitored email address. If you forget your password, the reset email goes here. If
WordPress detects security issues, alerts go here. An unmonitored address means missing critical
notifications.
Consider using a role-based address like admin@yourdomain.com rather than a personal address. If team
members change, you update the forwarding rather than reconfiguring WordPress.
Membership and Default Role
The “Anyone can register” checkbox controls public registration. For most publisher sites, keep this
unchecked. Open registration without purpose invites spam account creation and potential security
issues.
If you enable registration, the “New User Default Role” setting determines what access new
registrations get. Never set this to Administrator, Editor, or Author. Subscriber is the only safe
default—it provides minimal access until you specifically grant more.
Timezone Configuration
Correct timezone settings ensure scheduled posts publish when you expect and timestamps display
correctly to visitors.
Select your timezone by city rather than UTC offset. City-based selection automatically handles
daylight saving time transitions. UTC offsets don’t adjust seasonally, so a +5 offset in winter
becomes wrong in summer if your location observes DST.
Match your primary audience’s timezone if it differs from your physical location. A US-focused site
run from Europe might set the timezone to New York or Los Angeles for easier scheduling in
audience-relevant times.
Date and Time Formats
Date formats should match your audience’s expectations. US readers expect Month/Day/Year; most other
regions use Day/Month/Year. Using the wrong format confuses readers about when content was
published.
The “Week Starts On” setting affects calendar displays. Sunday is conventional in the US; Monday is
standard elsewhere. Match your audience’s expectations for any calendar-style date pickers.
Writing Settings: Content Defaults
Writing settings control behaviors when creating content. Most defaults are reasonable, but a few
adjustments optimize your workflow.
Default Category
Every post needs at least one category. The default category catches posts published without explicit
categorization. Before publishing any content, create a sensible default—perhaps “General,” “Blog,”
or your most common topic.
The stock “Uncategorized” category looks unprofessional in URLs and category listings. Either rename
it or create a proper default and delete Uncategorized before publishing anything.
Post Formats
Post formats (aside, gallery, video, quote, etc.) are a theme feature that most publisher sites don’t
use extensively. Keep the default as “Standard” unless your theme specifically supports and benefits
from post formats.
Post formats are different from custom post types. If you need structured content types (events,
products, team members), you need custom post types via plugins, not post formats.
Post via Email
This legacy feature lets you publish posts by sending emails to a special address. It has security
implications and is rarely needed given modern publishing workflows. Leave it disabled unless you
have a specific use case.
Update Services
WordPress can ping services when you publish, alerting them to new content. The default
(rpc.pingomatic.com) is sufficient. Adding more ping services provides minimal benefit—search
engines discover content through sitemaps and crawling, not ping notifications.
Reading Settings: Display and Visibility
Reading settings control what visitors see and whether search engines can find you. Several settings
here have major SEO implications.
Homepage Display
Choose between “Your latest posts” (blog-style homepage) or “A static page” (custom homepage with
separate blog page).
For content-focused blogs where new posts are the main attraction, latest posts as homepage works
well. Visitors immediately see fresh content.
For business sites, portfolios, or any site where you want to control first impressions, use a static
homepage. Create a custom homepage with your desired layout, then designate a separate page
(typically /blog/) for post listings.
If using a static homepage, you must create and assign both pages. The “Posts page” setting tells
WordPress where to display your post archive.
Posts Per Page
This controls how many posts appear on archive pages before pagination kicks in. The default of 10
works for most sites, but consider your theme and content.
If your theme displays large featured images, fewer posts (5-7) loads faster and looks less
cluttered. If your theme uses compact listings, more posts (12-15) reduces the need to paginate.
The syndication feed setting can differ from the blog display. RSS readers often prefer more items
per feed (10-20), so subscribers see more content at once.
Feed Content: Full Text vs Summary
This controls whether RSS feeds include full post content or just excerpts. Full text is
reader-friendly but means people can consume your content entirely through feed readers without
visiting your site. Summary excerpts drive feed subscribers to your site for full content.
For ad-supported sites, summaries encourage site visits. For maximum reader convenience, full text
provides better experience. Consider your monetization and goals.
Search Engine Visibility
This checkbox is critical. “Discourage search engines from indexing this site” adds noindex tags that
prevent Google and other search engines from including your pages in results.
During development, check this box. You don’t want incomplete, placeholder content indexed. Staging
sites, development environments, and sites-in-progress should discourage indexing.
At launch, uncheck this box. Forgetting to uncheck it is one of the most common reasons new sites
never appear in search results. I’ve seen sites run for months with this box checked, their owners
wondering why Google couldn’t find them.
After unchecking, verify by visiting yourdomain.com/robots.txt. It should not contain “Disallow: /”
(which blocks all crawling). Also check that individual pages don’t have noindex meta tags.
Permalinks: Critical URL Structure
Permalink settings determine your URL structure. This is the single most important setting to
configure correctly before publishing any content. Changing permalinks after publishing content
breaks all existing links.
Choosing Your Permalink Structure
WordPress offers several permalink options, but for most sites, only one makes sense.
Post name (/sample-post/) is the recommended choice. URLs are clean, readable, and include keywords
from your post title. They work well for SEO and are easy for users to understand and remember.
Day and name (/2026/01/04/sample-post/) includes publication date. This works for news sites where
date provides context, but for evergreen content, dates make posts look old even when updated.
Unless you specifically need dated URLs, avoid this.
Month and name (/2026/01/sample-post/) is similar but less precise. Same date-aging concerns apply.
Numeric (/?p=123) provides no user or SEO value. URLs are meaningless to humans and contain no
keywords. Never use this except temporarily during development.
Custom structure lets you build your own pattern. Common options include adding category
(/%category%/%postname%/) for content organization in URLs. Be aware that category-based permalinks
create longer URLs and complications if you later reorganize categories.
Category and Tag Bases
The optional base settings customize archive URLs. Default category archives appear at
/category/category-name/. You can change “category” to “topics” or another term that fits your site
better.
Some SEO advice suggests removing the category base entirely. This creates cleaner URLs
(/category-name/ instead of /category/category-name/) but can cause conflicts with page slugs. If
you have a page with the same slug as a category, URL conflicts occur. Only remove bases if you
understand the implications.
Discussion Settings: Managing Comments
Discussion settings balance community engagement against spam. WordPress defaults lean toward open
engagement, which works poorly once your site attracts spam attention.
Default Article Settings
Pingbacks and trackbacks are legacy features that created more problems than value. They were
designed to notify sites when you linked to them (and vice versa), but modern spammers abuse them
heavily. Disable both options. No legitimate value is lost; significant spam is avoided.
Allow comments on posts by default, but recognize you can override this per-post. Not all content
benefits from discussion—informational reference pages might be better without comments distracting
from the content.
Comment Moderation Settings
Require email and name for comments. This minor friction eliminates drive-by spam and creates
accountability. Some sites allow anonymous comments for sensitive topics, but most benefit from
identity requirements.
Require previous approval before comments appear. The setting “Comment author must have a previously
approved comment” creates an implicit whitelist—first-time commenters need approval; returning
commenters post freely. This balances moderation workload with engagement.
Configure comment moderation keywords. Add terms commonly found in spam to the moderation list:
pharmaceutical names, casino terms, payday loan language. Comments containing these terms get held
for review rather than publishing automatically.
The disallowed list goes further, automatically trashing (not just holding) matching comments. Add
confirmed spam sources, particularly abusive email patterns or IPs that repeatedly spam you.
Comment Nesting and Pagination
Threaded comments allow replies displayed indented under parent comments. Enable this for
conversational engagement. Two or three levels of nesting work well; deeper nesting becomes visually
confusing, especially on mobile.
Comment pagination helps with popular posts that accumulate hundreds of comments. Display 20-50
comments per page with navigation between pages. This prevents extremely long pages while keeping
discussions accessible.
Avatars
Avatars add personality to comments. Enable them for community feel, but understand privacy
implications. WordPress uses Gravatar, which involves sending email hashes to external servers. For
GDPR compliance, ensure your privacy policy discloses this.
Choose a default avatar for commenters without Gravatars. The “Mystery Person” silhouette is common;
you can also upload custom defaults that match your brand.
Keep avatar rating at “G” for publisher sites. Higher ratings can display inappropriate user-uploaded
avatars.
Media Settings: Image Handling
Media settings control how WordPress processes uploaded images. Proper configuration prevents storage
bloat and supports efficient delivery.
Image Sizes
WordPress generates multiple sizes for each uploaded image. These sizes serve different purposes
throughout your theme.
Thumbnail size (150×150 default) is used in admin listings and some widgets. The “Crop thumbnail to
exact dimensions” option makes all thumbnails perfectly square, useful for grid layouts. Unchecking
it maintains proportions but creates inconsistent dimensions.
Medium size (300×300 default) works for many in-content use cases. Consider your theme’s typical
image display contexts when setting this.
Large size should match your content column width. If your posts display at 800 pixels wide, a
“large” image of 800 pixels is appropriate. Larger wastes storage and bandwidth; smaller may appear
pixelated on high-resolution displays.
Be aware that themes and plugins often register additional sizes beyond these three. Your media
library may contain many more variations than these basic settings suggest.
Upload Organization
Keep “Organize my uploads into month- and year-based folders” enabled. This creates a directory
structure (/wp-content/uploads/2026/01/) that prevents any single folder from containing thousands
of files. Large flat directories cause performance problems, especially on shared hosting.
Privacy Settings
Privacy settings address regulatory requirements like GDPR. WordPress includes basic privacy tools;
you likely need more comprehensive solutions.
Privacy Policy Page
Designate a privacy policy page here. WordPress provides a template as a starting point, but
customize it for your specific data practices. Generic policies don’t satisfy legal
requirements—your policy should accurately describe what data you collect and how you use it.
This designated page may be referenced by specific theme and plugin privacy features. Setting it
correctly ensures consistent privacy linking throughout your site.
Post-Configuration Verification
After configuring all settings, verify everything works before publishing real content.
Permalink Testing
Create a test post and verify the URL matches your chosen structure. If URLs still show ?p=123 format
despite changing settings, there may be server configuration issues—rewrite rules might not be
working. If using Nginx, you need manual configuration that Apache .htaccess handles automatically.
Timezone Testing
Schedule a post a few minutes in the future. Verify it publishes at the expected time. Timezone
mismatches become apparent here.
Comment Testing
From a logged-out browser (or incognito/private mode), leave a test comment on a post. Verify
moderation settings work—does the comment wait for approval as expected? Does the moderation
notification reach your admin email?
Media Upload Testing
Upload a test image and examine the generated sizes. Verify they match your settings. Check that the
image appears correctly in posts at various sizes.
Search Visibility Verification
Visit yourdomain.com/robots.txt and confirm it allows crawling. If you just unchecked the “discourage
indexing” option, it should no longer contain restrictive directives.
Conclusion
WordPress settings deserve attention on day one. Permalinks especially must be configured before
publishing any content—changing them later breaks all existing links. Search engine visibility must
be properly set or your site never appears in Google. Discussion settings without spam mitigation
will bury you in junk.
Most settings are straightforward once you understand what they control. Take the hour to configure
everything properly before creating content, and you’ll avoid problems that plague site owners who
skipped this step.
admin
Tech enthusiast and content creator.