Every WordPress update carries risk. Plugin conflicts, theme incompatibilities, and breaking changes can take down a site in seconds. Yet many publishers skip backups before updating or apply untested changes directly to production sites. This guide establishes a professional update workflow that protects your site while keeping software current. You will learn to implement automated backups, create functional staging environments, and follow a testing protocol that catches problems before they affect visitors.
- Automated daily backups with off-site storage are the minimum acceptable protection
- Staging environments let you test updates without risking production
- A consistent update workflow catches problems before they affect visitors
- Tested rollback procedures ensure you can recover quickly from failures
I. Understanding the Update Risk
Before establishing workflows, understand what can go wrong and why protection matters.
A. Types of Update Failures
- Complete site crashes: PHP errors causing white screens or 500 errors. Usually caused by plugin conflicts or PHP version incompatibilities.
- Partial functionality loss: Site loads but specific features break. Contact forms stop sending, galleries fail to display, or checkout processes error.
- Visual breakage: Layout and styling issues where content displays incorrectly. Header missing, sidebar collapsed, or fonts not loading.
- Database corruption: Failed database migrations leave tables in inconsistent states. May cause data loss or prevent future updates.
- Performance degradation: Updates that work correctly but dramatically slow the site. New code paths may be inefficient or create excessive queries.
B. Why Backups Alone Are Not Enough
Many site owners rely solely on backups for protection. While essential, backups alone have significant limitations.
- Downtime during restore: Restoring from backup takes time. Your site remains broken while you restore, potentially for hours.
- Content loss risk: If problems are not noticed immediately, the latest backup may not contain all recent content.
- No prevention: Backups help you recover but do not prevent problems from occurring in the first place.
- Detection lag: Some issues are subtle. By the time you notice, multiple backup cycles may have passed, all containing the broken state.
II. Implementing Automated Backups
Reliable backups form the foundation of any update workflow. Without them, you have no recovery option when updates fail.
A. Backup Components
A complete WordPress backup includes both files and database. Missing either makes restoration impossible.
- Database backup: Contains all content, settings, user accounts, and plugin configurations. This is the smallest but most critical component.
- wp-content folder: Contains themes, plugins, and uploaded media. Often the largest backup component.
- WordPress core: The WordPress installation itself. Less critical because it can be reinstalled, but including it speeds restoration.
- Configuration files: wp-config.php and .htaccess contain critical settings. Often overlooked but essential for restoration.
B. Backup Schedule Recommendations
- Database: Daily backups minimum. For high-volume publishers, consider every 6-12 hours.
- Full files: Weekly full backups are sufficient for most sites. Media uploads rarely change after initial creation.
- Retention: Keep at least 30 days of daily backups and 90 days of weekly backups. Storage is cheap; lost data is expensive.
- Before updates: Always create a manual backup immediately before applying updates, regardless of automated schedule.
C. Off-Site Storage Requirements
Backups stored only on your web server provide false security. Server failures, hacks, or account suspensions can destroy local backups alongside your site.
- Cloud storage destinations: Configure automatic upload to Google Drive, Dropbox, Amazon S3, or similar services.
- Multiple destinations: For critical sites, send backups to two independent services. Even cloud providers can have outages.
- Download verification: Periodically download and verify backup integrity. Corrupt backups are worthless during emergencies.
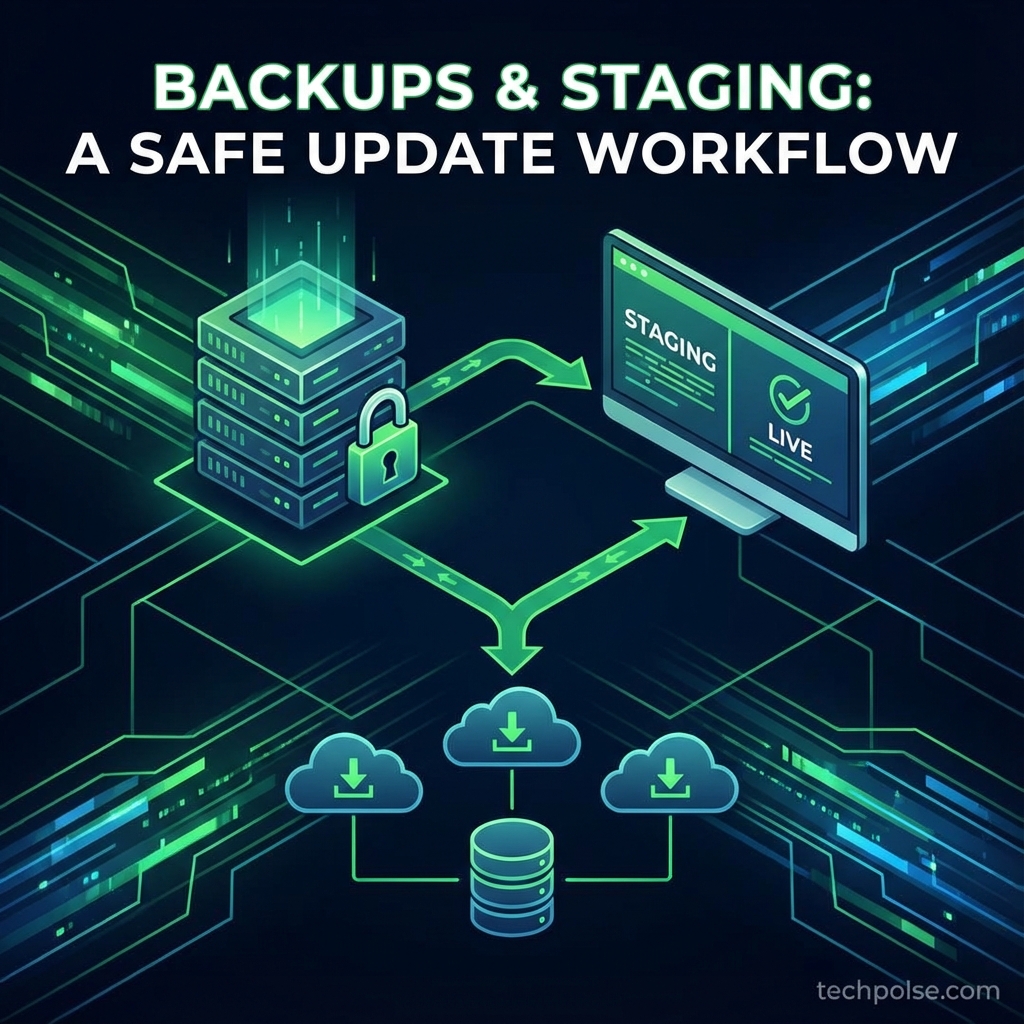
III. Creating a Staging Environment
A staging environment is a complete copy of your site where you can test changes without affecting production. This is where all updates should be tested first.
A. Staging Options
- Hosting-provided staging: Many managed WordPress hosts include one-click staging. This is the easiest option when available.
- Plugin-based staging: Plugins like WP Staging create staging copies within your existing hosting. Works on any host.
- Subdomain staging: Create a subdomain (staging.yourdomain.com) and clone your site there. Requires manual setup but offers full control.
- Local staging: Run WordPress on your local computer using LocalWP or similar. Best for development but requires syncing content.
B. Staging Environment Configuration
Staging sites need specific configurations to prevent interference with production.
- Block search engines: Enable "Discourage search engines" in Reading settings. Add noindex meta tags. Never let Google index your staging site.
- Disable caching: Turn off page caching to see changes immediately during testing. Caching complicates update verification.
- Disable email sending: Prevent staging from sending actual emails. Use a plugin to trap outgoing mail or configure a test SMTP service.
- Different database: Staging must use a separate database from production. Never share databases between environments.
- Access restriction: Password protect staging or restrict by IP address. Staging sites often have debug information exposed.
C. Keeping Staging Current
Staging environments drift from production over time as you add content. Regular refreshes maintain testing accuracy.
- Content sync frequency: Refresh staging from production at least monthly, or before major update rounds.
- Database migration: Use tools that handle URL replacement automatically. Staging URLs differ from production URLs.
- Media handling: For large media libraries, consider symlinking or excluding media from sync to save space.
IV. The Update Workflow Process
With backups and staging in place, follow this consistent workflow for every update.
A. Pre-Update Phase
- Step 1: Check what updates are available on production. Note version numbers for plugins, themes, and core.
- Step 2: Read changelogs for major updates. Look for breaking changes, new requirements, or deprecated features.
- Step 3: Refresh staging from production if the content is stale (more than a few days old).
- Step 4: Create a manual backup of production immediately before any testing begins.
B. Staging Testing Phase
- Step 5: Apply updates to staging first. Update one plugin at a time rather than bulk updating for easier problem isolation.
- Step 6: Test core functionality after each update. Load the homepage, test navigation, check a single post page.
- Step 7: Test specific features related to the updated plugin. If updating a form plugin, test actual form submissions.
- Step 8: Check browser console for JavaScript errors. Many functionality issues show up as console errors.
- Step 9: Verify site speed has not degraded. Compare page load times before and after updates.
C. Production Deployment Phase
- Step 10: Confirm the production backup from Step 4 completed successfully. Verify the backup file exists and has reasonable size.
- Step 11: Choose a low-traffic time for production updates. Early morning or late evening minimizes visitor impact.
- Step 12: Apply the same updates to production in the same order you tested on staging.
- Step 13: Immediately verify production after updates. Load key pages and test critical features.
- Step 14: Monitor for 24-48 hours after updates. Some issues only appear under real traffic conditions.
V. Handling Update Failures
Despite testing, production updates can still fail. Having a practiced recovery procedure minimizes downtime.
A. Immediate Response
- Do not panic: A calm, methodical response resolves issues faster than frantic troubleshooting.
- Document the error: Take screenshots of error messages. Note exactly what you updated and in what order.
- Disable the problem component: If you know which plugin caused the issue, disable it via FTP by renaming its folder.
- Clear caches: Sometimes cached content masks that the actual issue is resolved. Clear all caching layers.
B. Rollback Procedures
- Plugin rollback: Replace the updated plugin folder with the previous version using FTP. Download old versions from WordPress.org plugin SVN.
- Database restore: If a database migration failed, restore the database from your pre-update backup.
- Full restore: For severe failures, restore both files and database from the pre-update backup point.
- Post-restore verification: After rollback, verify everything works before considering the incident resolved.
VI. Maintenance Schedule
Establish a regular maintenance schedule rather than applying updates randomly.
- Weekly review: Every week, review available updates and assess priority. Security updates are urgent; feature updates can wait.
- Monthly update window: Designate a monthly maintenance window for non-urgent updates. Batch updates reduce testing overhead.
- Quarterly deep review: Every quarter, audit plugins for continued necessity. Remove plugins you no longer use.
- Security exception: Security updates bypass normal schedule. Test minimally and deploy quickly for critical vulnerabilities.
VII. Conclusion
A professional update workflow transforms WordPress maintenance from a risky necessity to a controlled process. Automated backups with off-site storage provide recovery capability. Staging environments catch problems before they affect visitors. A consistent testing process identifies issues during controlled testing rather than production emergencies. With these systems in place, you can keep WordPress current without the anxiety of potential site-breaking updates. The initial setup investment pays dividends every time an update would have otherwise caused problems.
What is your current WordPress update process? Share your workflow tips in the comments!